Help
Language
🔗What is Language (or Locale)?
A language (or locale) on WebTranslateIt is defined by a set of parameters like the user’s language, country and any special variant preferences that the user wants to see in their user interface. Usually a language consists of at least a linguistic identifier and a regional identifier (for instance: English + United States will be “en-US”).
When creating a project in WebTranslateIt, you are required to choose a source language, as well as several target languages.
Tip: Be careful when choosing the name of your language. For instance, if your language files refer to a language as
en-US, you must select a language that matches it.
🔗Languages and Files
Files are mapped to languages in the File Manager. For instance when you add a language WebTranslateIt automatically creates target files for each master file in the File Manager.
Also, when you add a new master file in WebTranslateIt, target files are automatically created and mapped to existing languages.
Deleting a language deletes the related files in the File Manager.
🔗Creating Languages
The language builder allows you to construct languages. To use it, start by typing the beginning of the language you want to use.
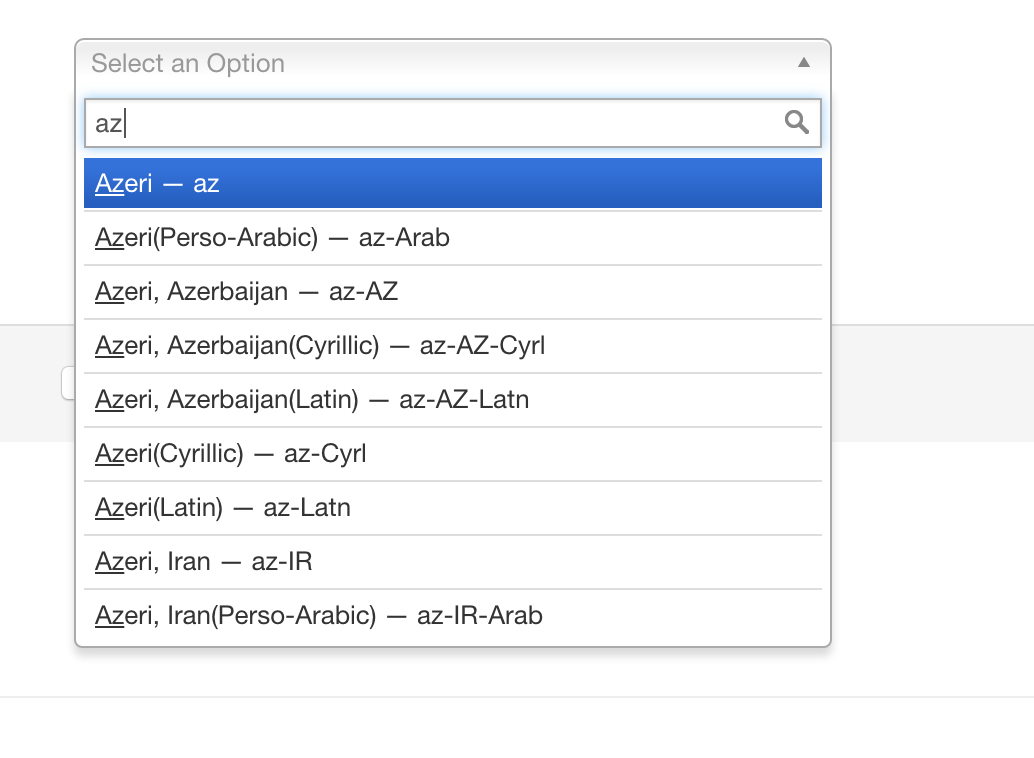
In the example above, I typed “az” and the language builder offers me a large choice of languages:
| Language Name | Language Code | Script |
|---|---|---|
| Azerbaijani | az | Latin |
| Azerbaijani (Arabic) | az-Arab | Arabic |
| Azerbaijani (Cyrillic) | az-Cyrl | Cyrillic |
| Azerbaijani (Latin) | az-Latn | Latin |
| Azerbaijani, Azerbaijan | az-AZ | Latin |
| Azerbaijani, Azerbaijan (Arabic) | az-AZ-Arab | Arabic |
| Azerbaijani, Azerbaijan (Cyrillic) | az-AZ-Cyrl | Cyrillic |
| Azerbaijani, Azerbaijan (Latin) | az-AZ-Latn | Latin |
WebTranslateIt knows relevant informations about each languages:
- Which countries (or territories) use a language,
- Which scripts a language is written in (for instance:
Latin,Arabic,Cyrilic, …), - Which script is the official one or mostly used one.
If your language doesn’t provide an explicit script (like the language code az for instance) an implicit language is chosen for you: Latin in Azerbaijani’s case. If you’d rather use another script you can build a language with the correct script. The default language is the official or most important script for a language or for a language/country compound.
🔗Hyphen and Underscore
It is better to use a hyphen (or dash) rather than an underscore sign to separate the language code, the country code and the script code. RFC 3066 recommends using en-GB instead of en_GB:
Language tag syntax
The language tag is composed of one or more parts: A primary language
subtag and a (possibly empty) series of subsequent subtags.The syntax of this tag in ABNF RFC 2234 is:
Language-Tag = Primary-subtag \*( "-" Subtag )

Primary-subtag = 1\*8ALPHA

Subtag = 1\*8(ALPHA / DIGIT)
The productions ALPHA and DIGIT are imported from RFC 2234; they
denote respectively the characters A to Z in upper or lower case and
the digits from 0 to 9. The character “-” is HYPHEN-MINUS (ABNF:
%x2D).All tags are to be treated as case insensitive; there are
conventions defining the use of capitalization.
For instance, ISO 3166 recommends that
country codes are capitalized (MN Mongolia), while ISO 639
recommends that language codes are written in lower case (mn
Mongolian).
However, even if using a hyphen (or dash) is better, some software use underscores (en_GB), so you can choose to use dashed language tags in your project settings.
This setting impacts the generated file names, the API URLs, and in some linguistic files the language code used.

🔗Customizing Languages
Sometimes you’ll want to create your own language. For instance, if your development team writes an English copy that needs to be proofread, you might want to create a fake language “English by developers”. The copy in this language will, in turn, be modified and proofread by a professional proofreader before being translated into other languages.
Another reason could be that your app needs a specific custom language based on a very specific location.
In the Language Manager, start by choosing a base language. Then, click on “Create a specific language” to toggle additional options.
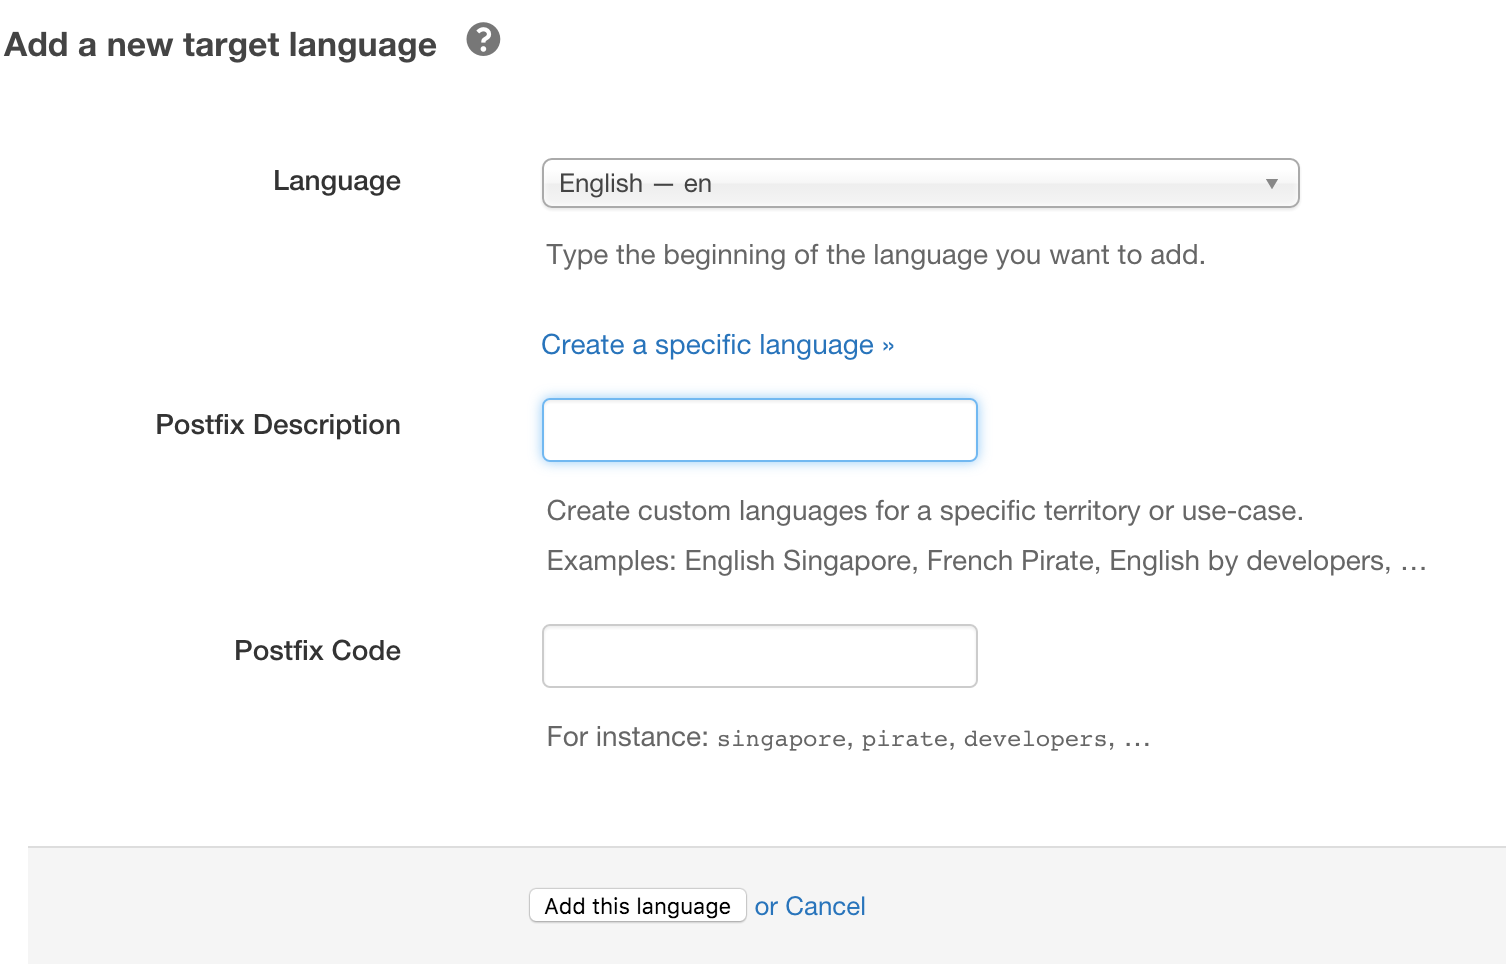
These additional options will be appended to the base language code and name.
- Suffix code is a code that will be appended to the language code. For instance:
dev. - Suffix description is the description of the suffix you add. For Instance
by developers.
This will generate a new custom language with the code en_dev and name “English by developers”.
🔗Language Inheritance
This feature is available on the Legacy 2017 plans and from the Enterprise plan.
Language inheritance lets you define a hierarchy in the languages of a project. It lets you re-use and extend translations for languages having similarities, but yet are different.
It is easier explained with an example. The French language is spoken in many countries: France, Belgium, Canada, … Using this feature you could define a general language French with the fr language code on which you would save generic French translations.
French spoken in Canada is very different than French spoken in France. Then you could then create a French (Canada) language with the fr-CA language code to write translations specific to the French language as spoken in Canada.
Using inheritance, translations in fr will automatically fill the translations in fr-CA unless a specific translation in fr-CA is saved. It means you no longer have to manually fill all the fr-CA translations. You only need to correct the translations where a specific translation for fr-CA should be used.
🔗Getting Started
Under the “Language & Stats” tab, click to add a new language. Start by typing the name of your new language. In our example, fr-CA.
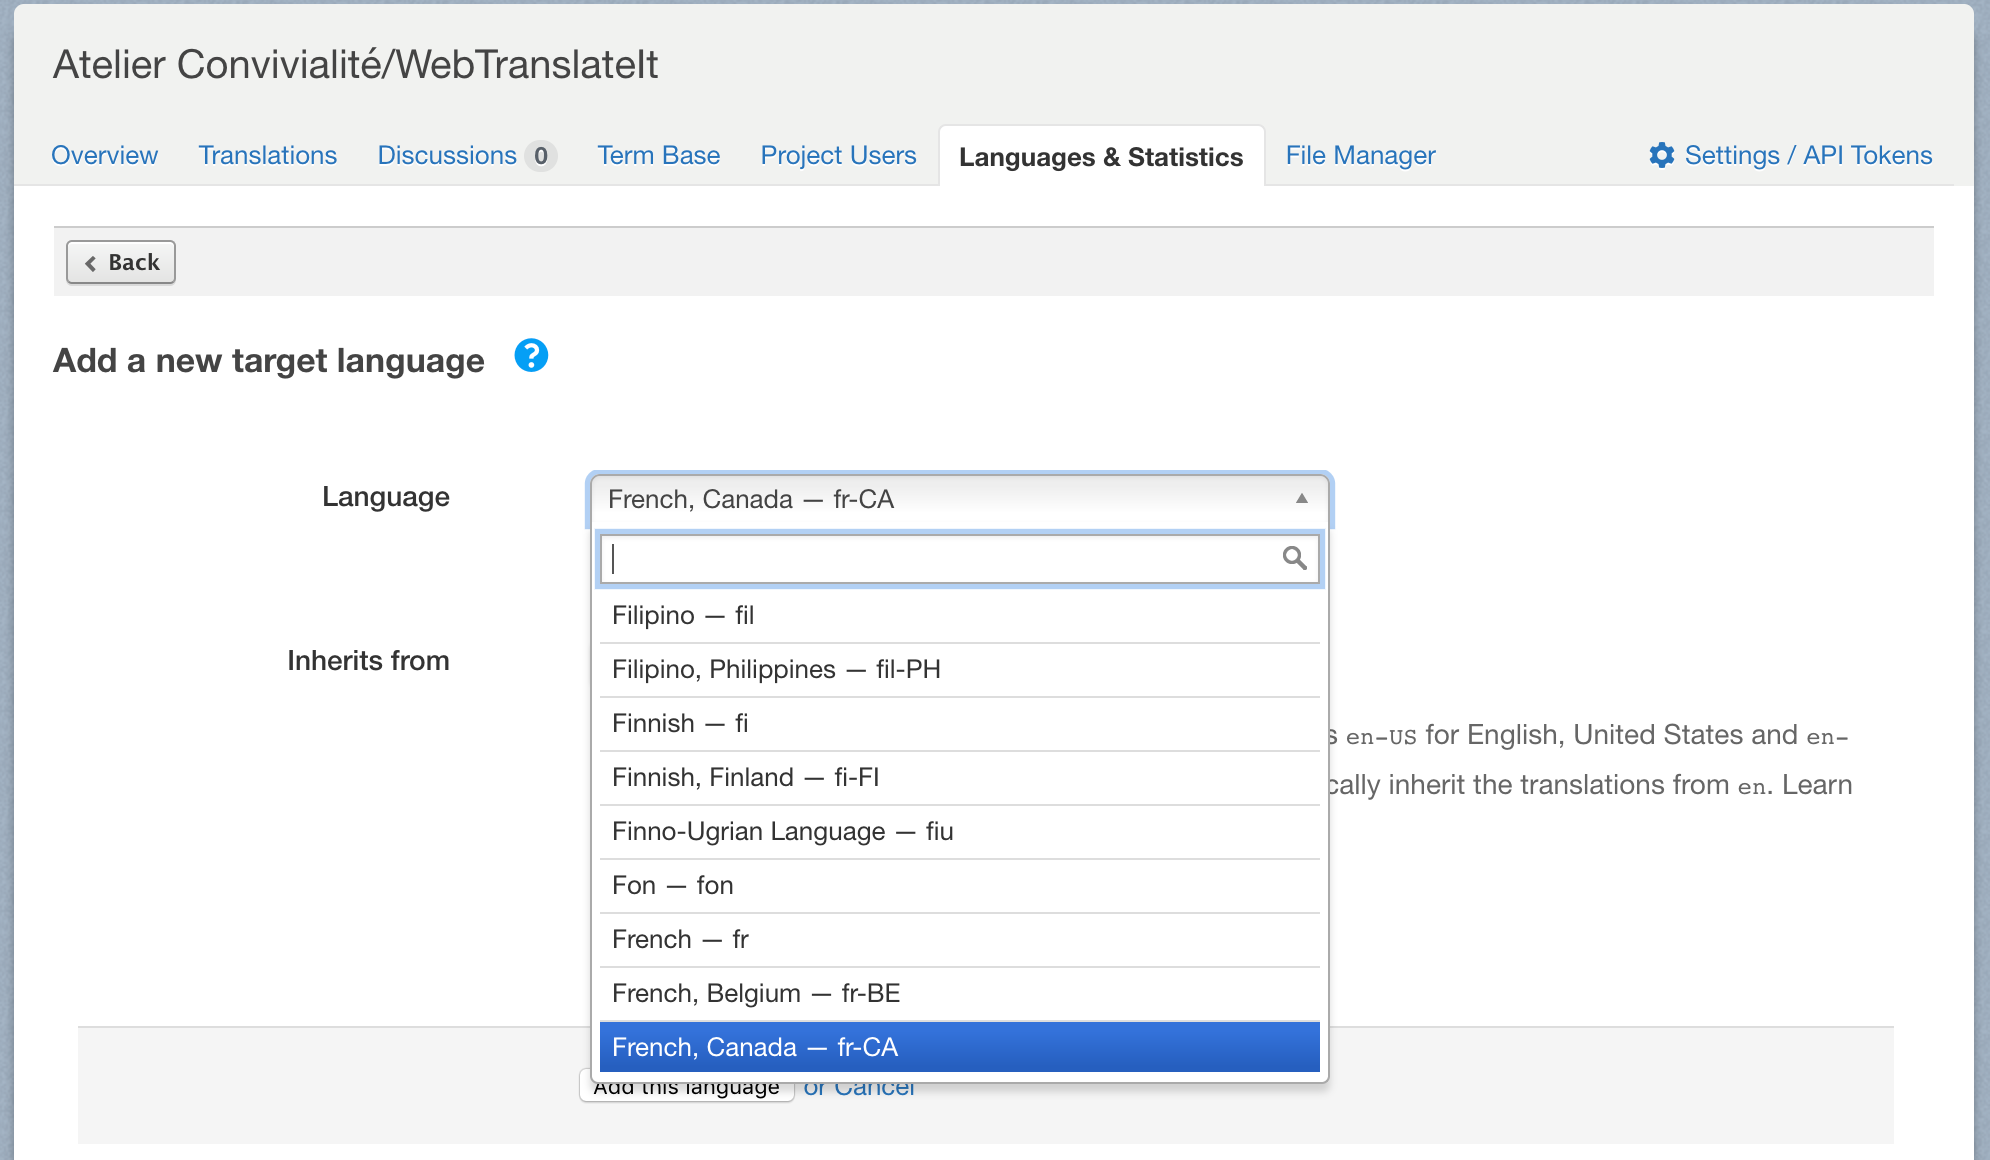
Then, choose the name of its parent language. In this case the parent language is fr.

Then click on “Add this language”. As usual, its language files will be automatically created in the File Manager for you. The language will be listed in the list of languages and marked as an inherited language.

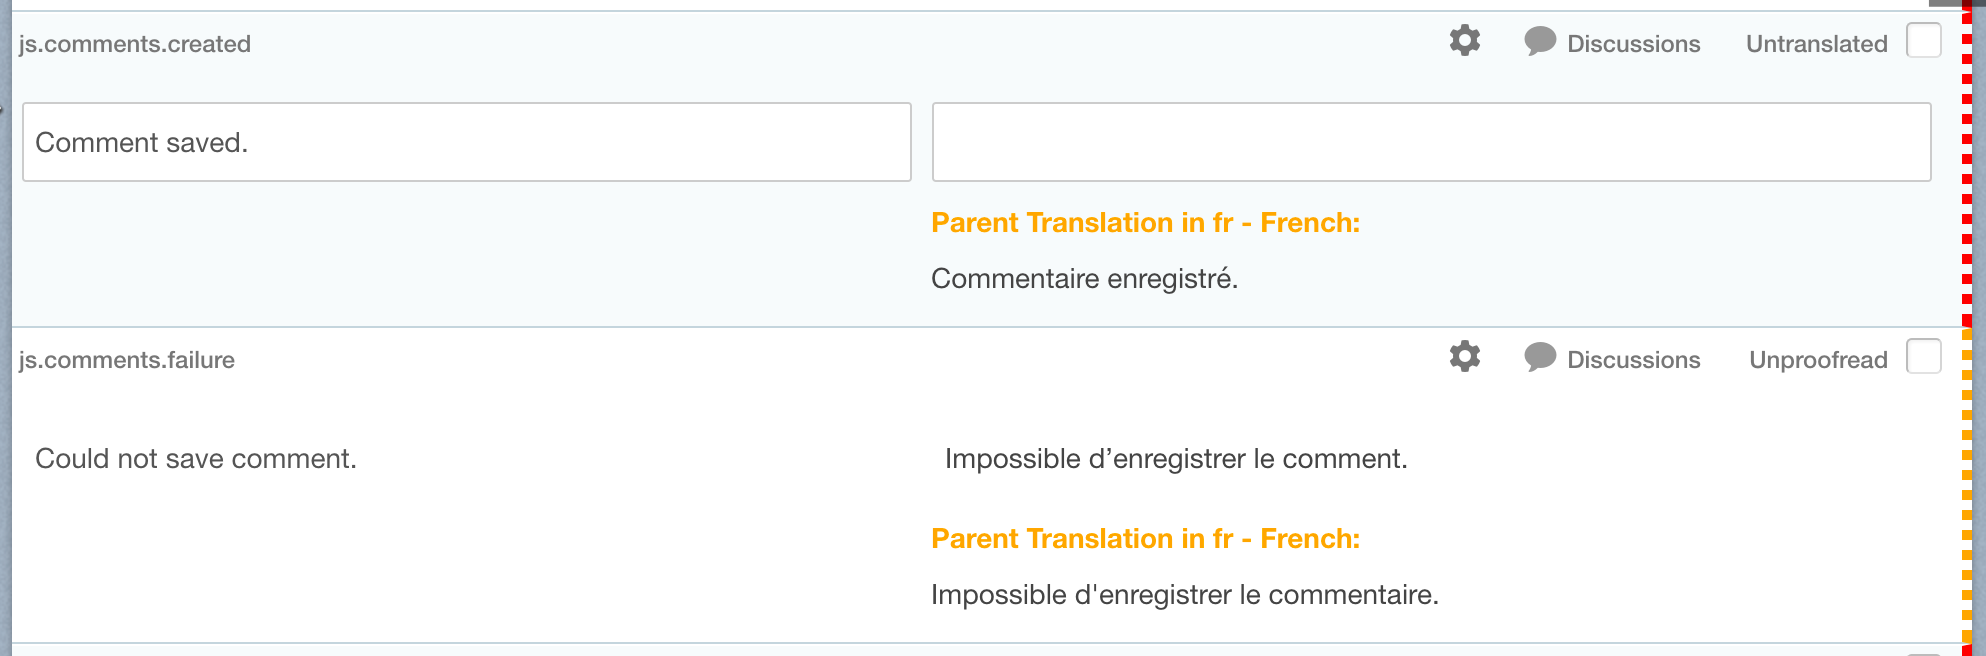
In the translation interface, translations for inherited languages are listed differently. If no specific translation is entered for the inherited language then only the translation for the more generic language is visible (if available). If a specific translation was entered, then both the specific translation for the inherited language and the generic translation will be visible.
🔗Advanced Option
An option is available in the project settings. It lets you choose:
- if you want the inherited language files to include translations from the parent source language
- or if you want the inherited language files to only include the differences and have the rest of the segments filled with
nilvalues.

As an example, let’s consider this fr.yml file assigned to the fr language:
fr:
  key1: "texte 1"
  key2: "texte 2"
  key3: "texte 3"
We’ve created a language fr-CA which inherits from fr. In that language, only the segment with key key1 was updated with a specific translation.
If you choose to have the inherited language file filled with only the text having a difference you’ll obtain this language file:
fr-CA:
  key1: "A different text"
  key2: ~
  key3: ~
(The ~ signs represents a nil value in the YAML language file format).
If you choose to have the inherited language file to include translations from the source language you’ll obtain this language file:
fr:
  key1: "A different text"
  key2: "texte 2"
  key3: "texte 3"
Next Up: Discover the File Manager. The File Manager is a powerful yet simple tool to manage your files on WebTranslateIt… »